Here’s how to grow hydrangea in pots, a beautiful flower that perfumes the whole house.
Probably one of the most beautiful flowering shrubs to have in your home, it is not necessary to have a garden or outdoor space to dedicate to it.
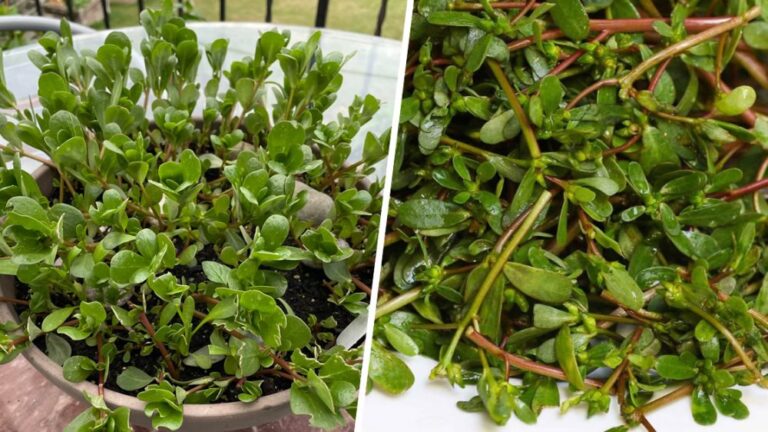
With its bright colors, hydrangea is a plant that lends itself well to growing in pots.
To obtain an excellent plant, start by choosing the variety you like best, then determine the type of pot and soil best suited to its needs. There are some types of hydrangeas that require a large pot. It is advisable to use clay or gravel on the bottom, but not a saucer, because it could cause excessive water stagnation.
Read also: I no longer buy garlic in the store. My gardener told me how to grow it in large quantities.
When buying a hydrangea, the first thing to think about is finding a nice place where it can receive light but also shade.
In fact, like many other plants, hydrangea does not like direct sunlight, but thrives in light: a nice shaded area is ideal! Hydrangeas grow well in acidic soil, i.e. with a pH between 6.5 and 4.5. Their beautiful colors often depend on the acidity of the soil: those that tend towards pink or brown prefer a high pH, equal to 6 or even 7, while those that tend towards blue prefer a very acidic pH, between 4 and 5. Depending on the color of your hydrangea, try to improve and change the soil.
In winter it won’t give you many problems, but in summer you will have to pay attention to the heat, because this plant does not like high temperatures. If you decide to keep the plant indoors, make sure to keep it away from any heat source even in winter.
You need a large pot with a diameter of at least 40 cm and place expanded clay at the bottom.
At this point you can remove the plant from its pot. You will notice that it has thick roots. Cut the roots before placing the plant in its new pot!
This step is very important, otherwise the plant will have difficulty spreading its roots and will perish quickly. Do not place the plant too deep, but a few centimeters above the ground (to prevent the roots from rotting during irrigation).
The first watering must be abundant, then you will have to adjust it according to the season. In summer, to combat the heat, plan to water once a day. However, be careful not to wet the leaves to avoid fungal diseases that could affect your plants.
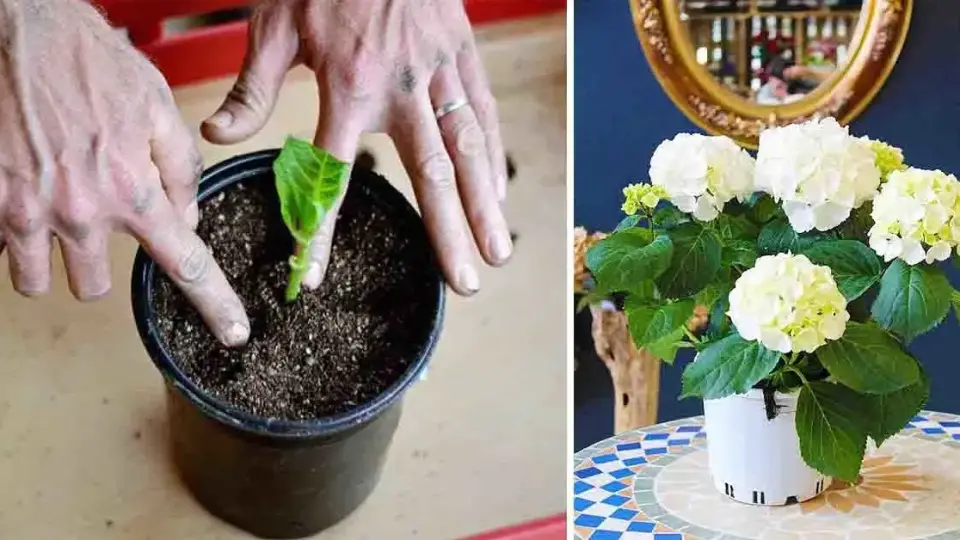
The first node to cut when you want to make a hydrangea cutting.
As regards fertilization, it is recommended to use a liquid fertilizer, to be added to the irrigation water at least once a week.
Cultivation, however, takes place by cutting and is rather simple.
How to take cuttings?
Cuttings can be taken from herbaceous plants during the plant’s fresh green growth (not flowering), between June and August, or they can be taken during the dormancy period, which occurs between October and December.
In this case, make a semi-woody cut.
In summer, proceed as follows: cut the shoot at a height of about 30 cm, then cut the shoot once you have identified the first node (where the two leaves at the bottom grow); Remove these two leaves as well and pick up all the others with one hand so you can cut off the tops of the remaining leaves. At this point, your sprout should look something like this and is ready to place in a glass with 2-3cm of water:
Read also: How to grow and care for the Christmas rose?
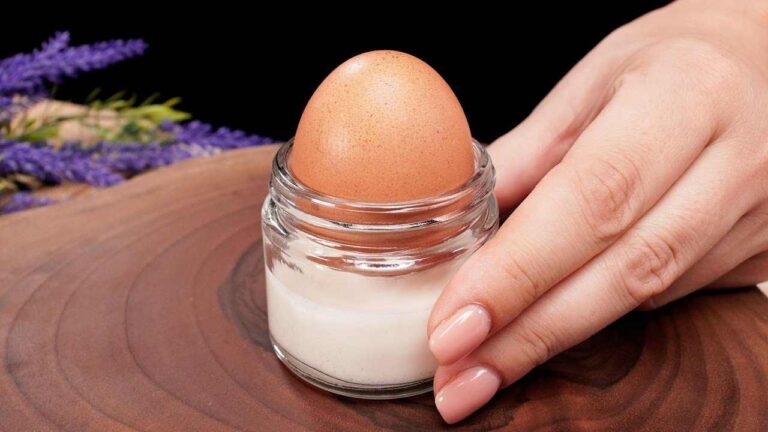
Here are some tips on how to root cuttings better:
Use half a tablet of effervescent aspirin! Don’t forget to change the water every two days (also replacing the aspirin), for a period of at least 40 days. After a few months, you will notice that small roots are developing; then it’s time to prepare a vase. Always remember that the cuttings reproduce a plant identical to the mother plant.