You will make something amazing with old non-slip mat and cardboard
Do you have an old non-slip mat? Here’s how to creatively recycle it with cardboard to make it useful at home.Non-slip mat – Imilanesi.Nanopress.it
If you have a non-slip mat at home that you are no longer satisfied with, here is a creative idea that will transform it into something useful and cute to keep at home. All you need to do is arm yourself with cardboard to create something unique. Let’s see how.
Creative recycling of the non-slip mat
Creative recycling is an increasingly popular trend that offers a fun and rewarding way to give new life to objects and materials that would otherwise end up in the garbage. Through this practice, we can transform seemingly insignificant elements into unique and original works of art , enhancing our creativity and reducing our environmental impact. In this article, we will explore one of the many ways to put creative recycling into practice, creating a DIY box using old cardboard and a non-slip mat.
The process is relatively simple, but the end result will be surprising. To begin, get an old cardboard , such as a packing box. Choosing a sturdy cardboard is important to ensure the solidity of the box you are going to create.Cardboard boxes – imilanesi.nanopress.it
Once you have the cardboard pieces, use hot glue to join the edges of the pieces , creating the basic structure of the box. Hot glue is an excellent option because it dries quickly and ensures a strong bond between the cardboard pieces.
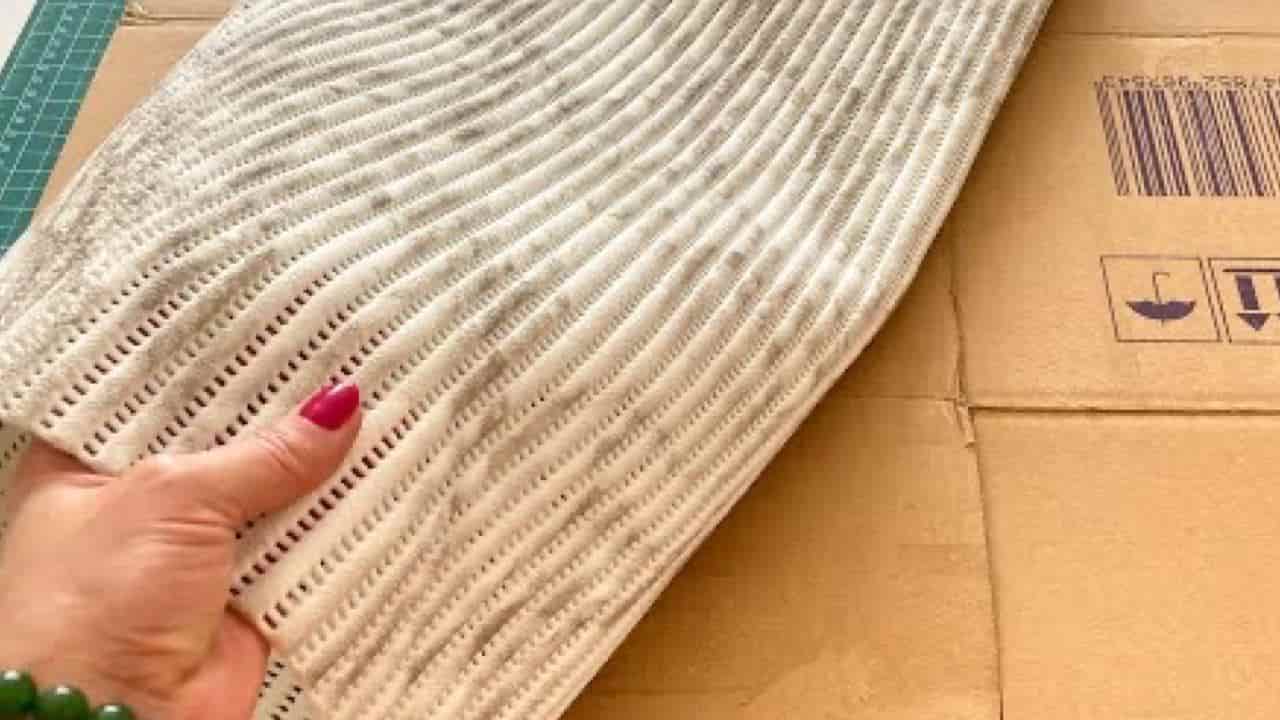
Now, let’s move on to the non-slip mat. This mat is often used to keep rugs in place on the floor , but it has a soft, non-slip surface that makes it perfect for our creative purpose.Non-slip mat – imilanesi.nanopress.it
Cut it into strips the same length as the sides of the box. Use the ruler to get straight and even strips. Once you have cut the strips, start gluing them to the outside of the box , overlapping them in an interwoven way. This process will create a charming pattern on the surface of the box, giving it an elegant and original look.
Repeat the same procedure for the lid of the box , creating a woven pattern on its surface as well. You will thus have a box complete with lid, ready to be customized as you wish.
How to complete the work
Now that you have completed the box, you can dedicate yourself to the customization phase . This is the moment when you can express your creativity and add a personal touch to your creation. You can paint the box with acrylic colors , use stencils to add designs or glue decorative stickers. Let your imagination run wild to make the box unique and special, reflecting your personal style.Final result of the box – viaggi.nanopress.it
This DIY box can be used for a variety of purposes. You can store jewelry, hair accessories, small items, or use it as a gift box, making your gift even more special and meaningful.
Creative recycling is a practice that goes beyond the simple reuse of materials. It is an opportunity to express our creativity and environmental sensitivity, helping to reduce waste and the impact on the environment . With an old cardboard and a non-slip mat, you have created a DIY box that is functional and beautiful to look at. Try to experiment with other creative recycling techniques and you will discover how rewarding it is to transform waste materials into authentic works of art .