The compost pit: a genius for the garden?
Have green thumb, a coveted trait that some people seem to possess while others are desperate to keep their plants alive. But what if there was a place where waste was turned into fertile soil and plants grew to unimaginable heights? Here’s a whole new way to compost!
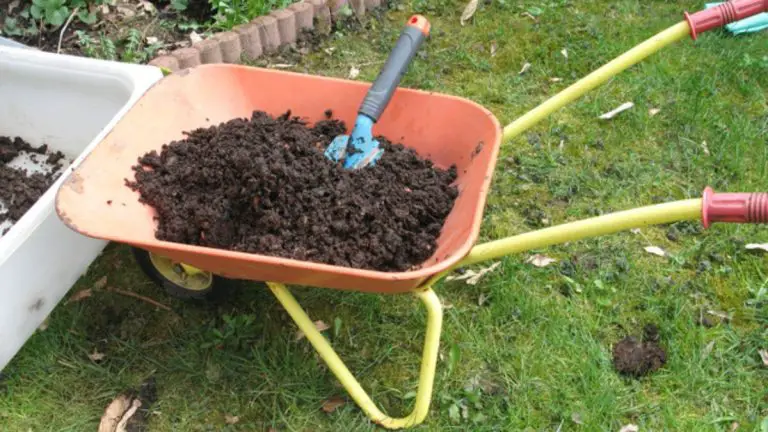
A composting facility is a great way to recycle organic waste and produce nutrient-rich fertilizers for your garden. An effective option is to create a compost pit. The trench provides space for the natural decomposition of garden waste, kitchen scraps and other organic materials. Compared to a normal compost pile, the trench has several advantages:
Aesthetics: A trench used for composting is more discreet and aesthetic than an open compost pile.
Heat Regulation: A compost pit benefits from regulating the natural heat of the soil. The soil acts as an insulator and helps maintain a stable temperature in the compost pit. This can lead to more efficient decomposition of the compost.
Weather protection: Buried compost is better protected from extreme weather conditions such as heavy rain, strong winds or frost.
Protection from animals: A properly designed compost pit is less likely to be visited by animals such as rodents or stray animals that might search for food in the compost pile.
Space saving: a compost pit takes up less space than a compost pile
This location contains external third-party content recommended by our editorial team. It completes the article and can be shown or hidden with a single click.
I agree that this external content may be shown to me. This may result in personal data being transmitted to the content provider and third-party services. You can find more information in our data protection declaration.
Here are some steps to help you create a compost pit:
- Location choice
Choose a suitable location for your compost pit. A shady, well-drained area of the garden is ideal. Avoid densely populated areas or areas near water sources.
- Hole size
Determine the size of your compost pit. In principle, a minimum size of approximately 1 meter wide, 1 meter long and 1 meter deep can be maintained. The larger the compost pit, the more waste it can process.
- Soil preparation
Remove grass or other plants from the area where you want to place the mulch. Remove underlying soil with a hoe or shovel. You can redistribute the removed soil in the garden.
- Construction of the compost pit
Start by placing a layer of rough material such as cut twigs, small twigs, or cardboard at the bottom of the trench. This promotes ventilation and water flow. Next, place a layer of leaves, grass or ready-made compost, as worms feel especially comfortable there. After this step you can still add fresh waste. Repeat these steps until the trench is filled. Finally add the compost worms. They significantly accelerate natural degradation.
- Humidity and ventilation.
Keep the compost pit moist but not too wet. Water the compost if necessary or cover it when it rains to prevent nutrients from leaching. To aerate the compost, you can move the pile with a fork from time to time and add oxygen.
- Time and patience when making compost
Composting is a natural process that takes time. Depending on the conditions and materials in the compost pit, it may take several months or even a year for the compost to completely decompose and be suitable for use in the garden. So it’s up to you to be patient!
The great advantage is that you can use the area as a nutrient-rich flower bed without having to harvest the fertilizer. But you can also plant very voracious plants in the compost pit during the composting process, because there they will receive an optimal supply of nutrients.
Creating a compost pit is a sustainable and environmentally friendly way to reduce waste while producing valuable fertilizer for your garden. Would it also be a good idea to install a compost pit in your garden?